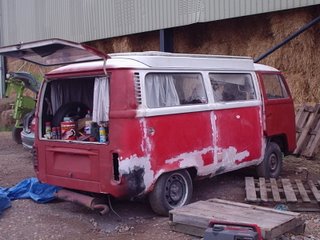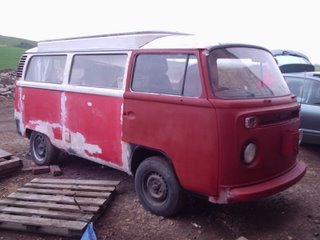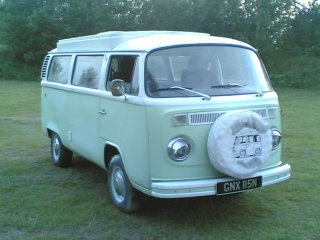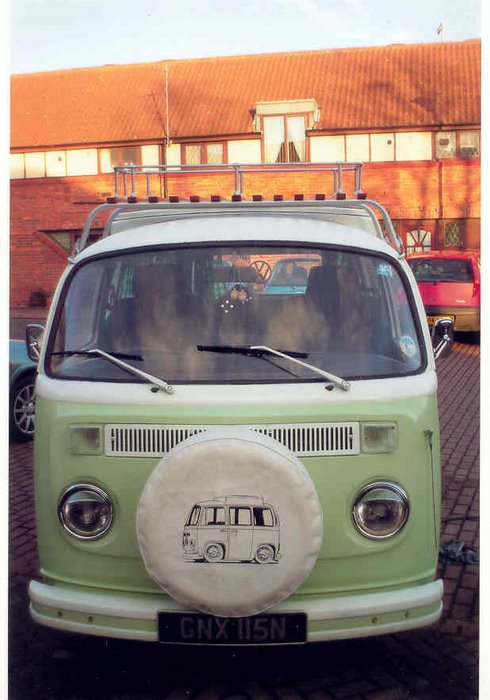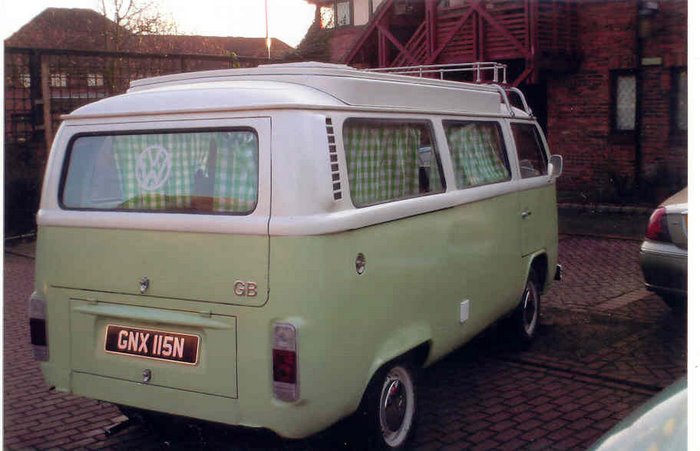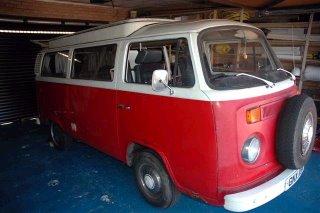
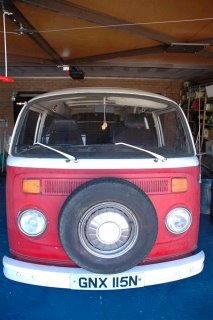
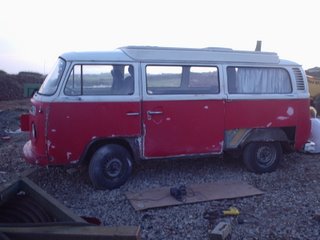
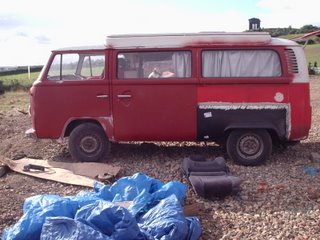
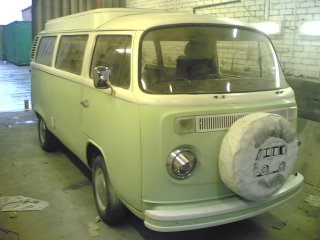
Here we have a few photo’s of the camper from its prevoius owner. This was taken in August 2005, shortly after this we picked her up from Motherwell, Scotland.
The Gentleman we purchased her from orginally wished to carry out all the restoration to her, however because of moving he could no longer carry it out. As you can see she had had a little work carried out on her over the past thirty years to keep her on the road. However after inspecting her a full restoration was needed in order to bring her back to her former glory.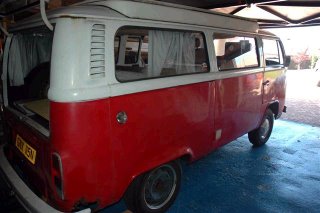
As you can see from the picture the driver side rear corner arch is all corroded and will need replacing. Also she has had a nasty dent along the drivers side, this will also require cutting out and replacing.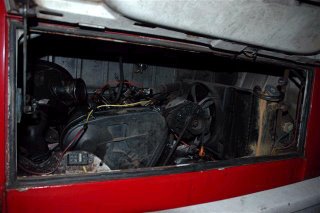 Engine bay in need of a good clean and service. As you can see she has been converted from an original 1600cc Air-Cooled Engine to a more powerful and reliable 1600cc Golf Diesel engine, well not so reliable as it had to be replaced due to the block being goosed so this got changed for a 1900cc Seat Leon Diesel Engine.
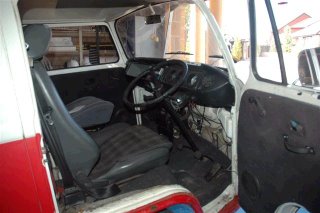 Interior looking very tatty and dated, this will require some up dating. Cab floor seems to be solid and will require no work. The entire interior however will need to be removed and replaced with new items. The original fan system has also been replaced with a more powerful unit that sit on passenger side. I have been informed that this unit is more capable of heating the entire van than the original.
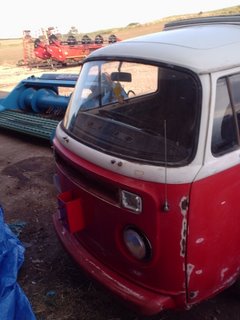 Well back to the farm and straight to work. The photo on the right shows the camper after the indicators, grill and chrome light surrounds had been removed. We then proceeded in taking the original paint back, in order to reveal what true state the bodywork was in. As you can see the front panel does not as solid as first thought however after a long look we decide to save the panel and do some work on it. For a thirty-year-old bay it was very surprising how well she had weathered in places were other bays need a complete new panel.
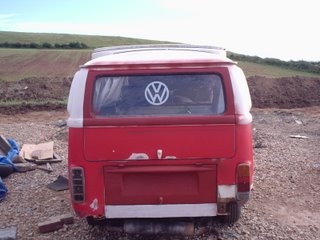
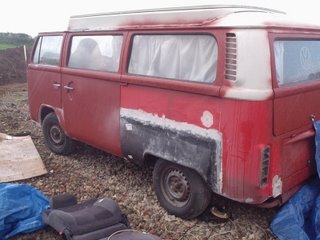
Looking a little sorry for herself, however she still look full of character. As you can now see the full extant of what we now are required to do to the front of her.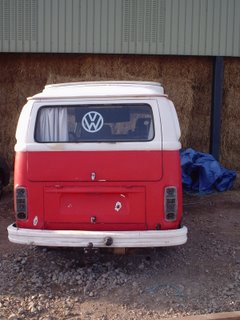 To the right shows the back of the camper. Not looking to bad, but don’t get me wrong still a lot of work to be done. Offside rear corner will need replacing. Nearside rear corner has been replaced before and is still solid.
Under the rear window seal the years of rain has taken its toll. This will all need cutting out and then replacing. The rest of the rear is in good condition.
Offside rear arch is to be replaced. As you can see Mr Baker has had the grinder out!!! It looks pretty solid under the panel, but we will give it a but of a tidy up and a coat of red oxide to stop the rust returning.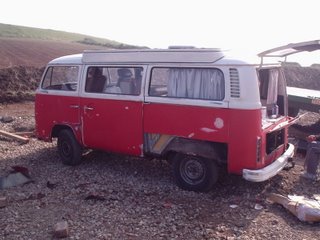 Camper driver side, with rear corner cut away. Also in some places we have had to take the camper down to metal as the body was dented.
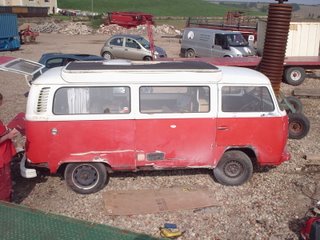
Bottom four inches will need replacing as the rust has set in. Finally the driver’s wheel arch will need replacing. Apart from this the camper is very solid, all the top half will just need a small amount of work before we start to paint her.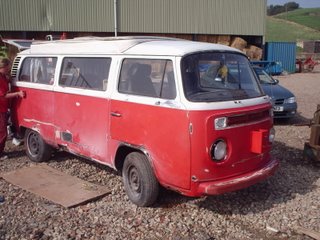 Another view of the camper’s driver side. As you can see a lot of hours worth of sanding has went into her. Not many more surprises throwing up on this side.
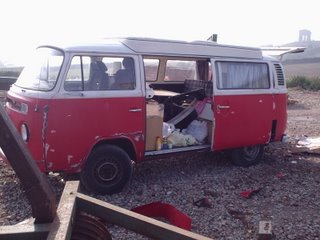 Apart from the nearside rear wheel arch the rest of this side is solid. Passenger and sliding door are replacements that have been put in over the campers 30 year life, but the sanding down has not throwing up to many surprises.
 Rear bumper removed does not show to many bad parts. Picture above shows engine lid and top half of the camper rear hatch treated and painted with a nice new coat of red oxide, this should stop the rust returning for a long time. Also below shows that the rear wheel arch had a tidy up and a lick of paint.
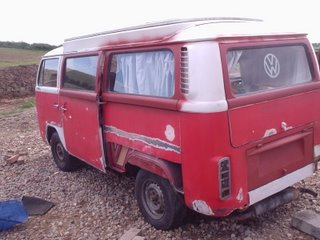
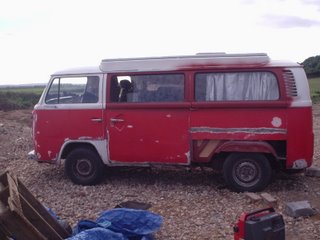
Passenger wheel arch was good enough to save; however the bottom two inches will need to be removed and plating.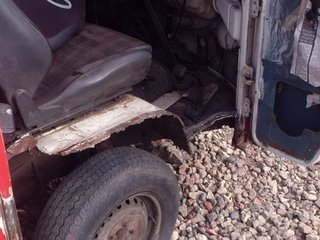 Chris and Bunny’s work after an hour with a grinder. The entire wheel arch is removed to find a pretty solid floor panel. This arch had also been replaced over the years.
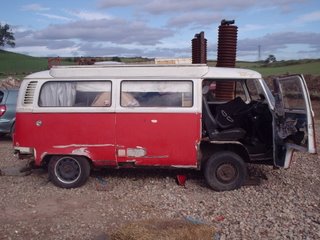
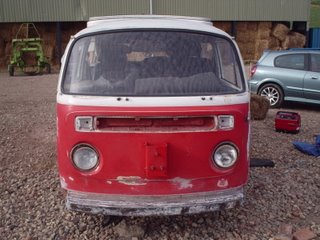 The entire front has been treated and filled with glass fibre filler were needed. This has taken a while to sand and shape but will more than likely out last the rest of the panel. Below shows the passenger and sliding door after being treated and sprayed with red oxide, made a good job I think.
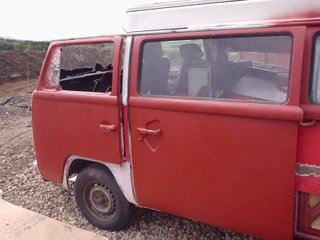
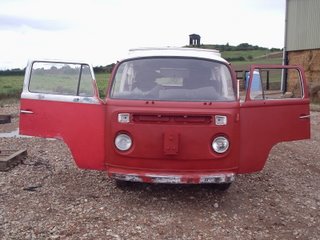 After all the hours sanding, the front gets a coating of the red stuff, still cant believe how a coat of paint can change the look of the camper. Nice side view of the camper with the rear doors and side doors treated.
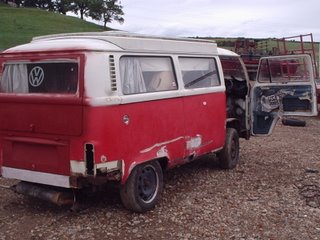
Still a lot of work to do on this side. Off side rearlight has been removed in order for the new panel to be fitted, still a lot of work on this side but we will get they.
Well after a long day at the factory unit, the new panels have been wielded on. Big thanks to Chris and Bunny good job lads. Now better get the filler out and get blending in.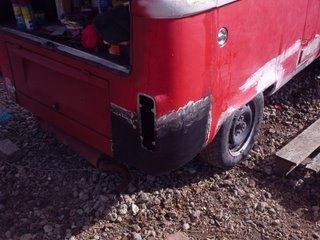
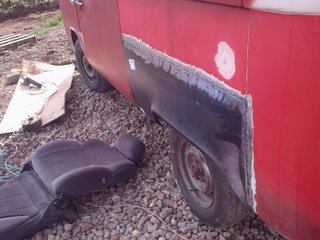
Looking Good!!
Bottom 4 inches have been replaced. Below shows the replacement wheel arch, job well done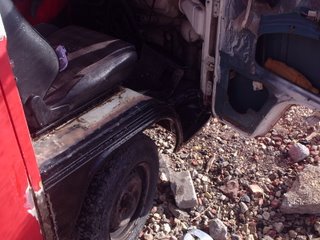
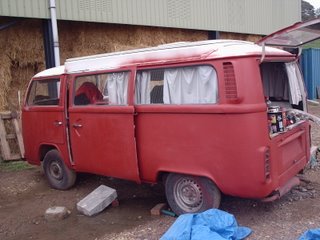
Starting to come together now, passenger side and rear finished and ready for grey primer and final coat, or so i thought.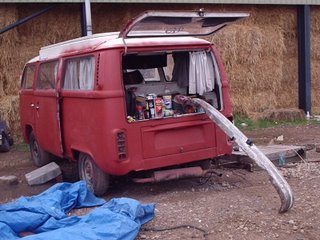
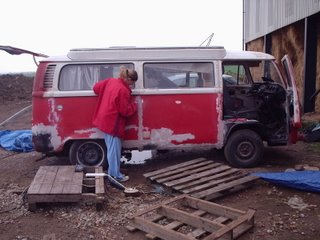 However still a lot of work to be getting on with on the drivers side. Still a lot more blend and sanding.
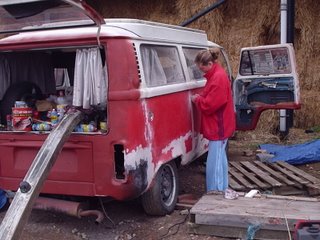
Only two more panels to blend and paint, then its time to start the interior.
Looking good, all the hard work is staring to pay off.
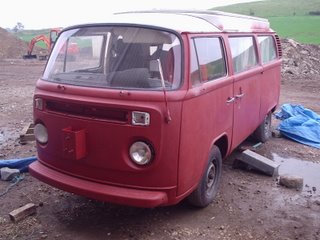 Below is the camper going on what turned out to be a pointless trip. The floor inside the camper required more work then first thought. Well they is always next weekend
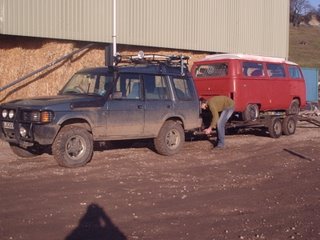
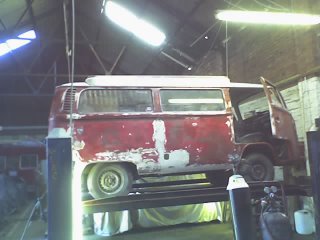 Well to the restoration club and finish off the body. First thing to do was to take off all the red lead, which I had put on to protect the body for the winter. Then I set about finishing off all the body (forgot to take photo, dam). Well that’s me working hard
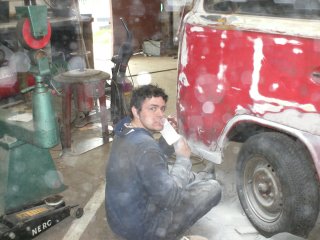
Unfortunately I also did not take many pics of the chassis work and running gear work, which I had to do. I finally got their thanks to a lot of help from a lot of people at the North East Restoration Club and a couple of friends who helped a lot. I will up date the blog with some nice new pics once I get around to it.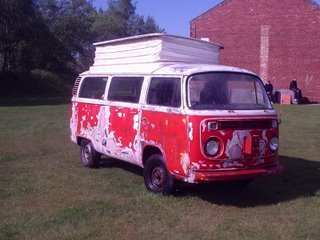
Well this one to the right is my favourite picture, she looking a million dollars don’t you think!! If it was up to I would have just put some lacquer on her then and have it over and done with.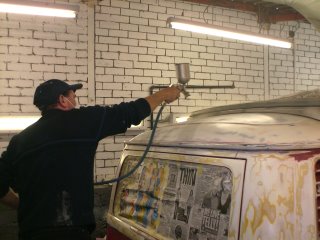
In the spray booth working hard, my dad got the job of spraying her
Starting to take shape in one colour. Lovely job on a Sunday.
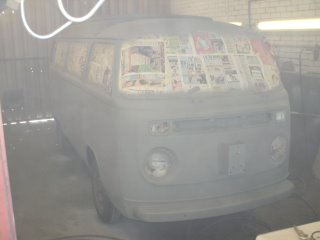
We decide to get the white on as well on the Sunday to save all the masking up of the windows. Below shows her grey and white but I could not help but put the little bits and pieces on to see her take shape. Wednesday she should be in her new colour!!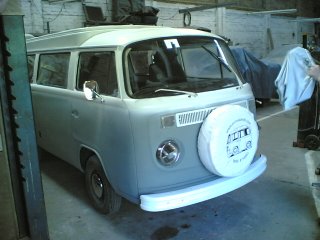
And here she is all painted up and waiting for a good wax.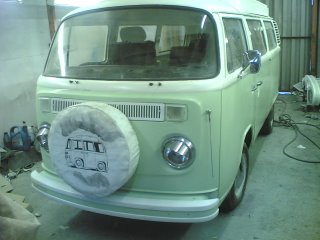
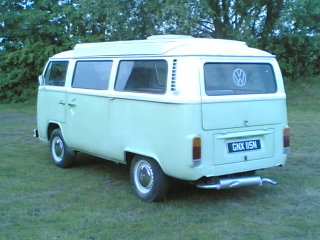
 Still needing the back bumper fitted but I’ll get there. She looks good now.
Interior

The picture above shows the original state I received the camper in. As you can see the seats were a mess in fact all the cab areas was in the need of gutting and rebuilt. The picture below shows the cab area nearing completion, all ready it look a lot tidier.


As with the cab area all the camping area was dated and in need of lighting up. Only way to do this was to rip all the camping area out and start again, saving what I can, such as cooker and sink.

The remains! After an hour with a hammer they was not much of the inside left. However a small area of the floor was rotting so we had to replace it and give it a good coat of paint to protect from the elements. Below shows Kerry working hard and giving the floor a good clean before we laid the new flooring.


All the inside was rubbed down and given a fresh coat of white paint. All the old interior panels were replaced as the old panels were all cracked and broken, also the old seat belts had to be replaced as them two had shown they age.

Well this is currently how the inside is looking, just the finish off jobs to do then she should be ready. I will add some more pictures off the inside and the underneath of the camper soon. The underneath pictures will show you how i have linked two rads up in series in order to cure the overheating probelm that I had.
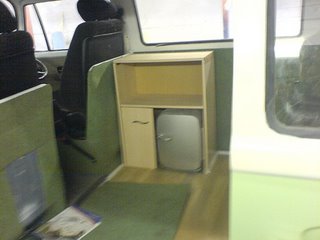

UPDATE: Well the camper now is back to a 1600cc air cooled and runing great. Its currently away for the winter however I do have some new pics of the camper with twin pea shooter exhaust and roof rack, and will get these posted asap.
TO DO: Well before its european trip I have a number of things I would like to do such as fit an oil temp and pressure gauge. Wire in 240v electrics, Fan asset the engine, and finish the little jobs I keep meaning to do like put the dizzy with the vacum advance back on!!!
THANKS TO: Well finally me and Kerry would like to say a big thanks to all the lads at http://www.northeastrestorationclub.co.uk/, special thanks to Brian, Paul, John, Tom, Norman, Derek, Mick, Sean and Steve (sorry if I missed you out). Also massive thanks to Bunny for letting me use his unit, Michael for letting me keep it on his farm and offering support and advice, my Dad cheers I will pay you back, and last but by no means least Chris Baker, without him and his welding I think I would still have no floor or jacking points. Sorry for anyone I missed, but thanks.
